Step 1 - Backup your Data
Before starting the data wiping process, it’s important to back up any important files or documents you want to keep. This ensures that you won’t lose valuable information during the data erasure process. Use an external hard drive, cloud storage, or another computer to make a secure backup of your files.

Step 2 - Choose The Right Data Wiping Method
There are several methods available for wiping a hard drive. Select the most suitable method based on your needs and the level of security you desire. Common options include software-based wiping, degaussing, or physical destruction. Research and determine which method aligns with your preferences and requirements.
There are different levels of hard drive wiping, with some being more thorough than others. The most basic level of hard drive wiping involves simply deleting the files on the hard drive or reformatting the hard drive. However, this level of wiping is not secure and can be easily undone using data recovery tools.
The next level of hard drive wiping involves overwriting the entire hard drive once with random data. This level of wiping is more secure than basic wiping, but it may still be possible to recover some of the original data using advanced data recovery tools.
The most secure level of hard drive wiping involves overwriting the entire hard drive multiple times with random data. This level of wiping is known as DoD 5220.22-M or NIST 800-88, and it is used by government agencies and businesses to ensure that all data is completely removed from the hard drive.
This is why it’s important to work with a reputable IT recycling and disposal company that offers data destruction services and follows industry standards for data wiping.
Chaps IT Recycling supplies a certificate for each data-bearing asset which has been wiped via software. This means each asset will have a guarantee not only backed by us but also by a third party that this method of data destruction has been carried out on the device.
Click here for more information on our secure data destruction solutions which we offer free of charge to all businesses & organisations.
We also have an in-depth article advising of the different types of Data Destruction available.
Step 3 - Use Data Wiping Software
If you opt for software-based wiping, download a reputable data wiping tool. There are various free and paid software options available, such as
The easiest way to software wipe a device is to leave the hard drive in situ in the device, in some cases, it is not possible to remove the storage. If the device is faulty and cannot power on to run the wiping software please see our previous blog post.
How to Safely Get Rid of a Computer That No Longer Works While Protecting Data Privacy
We would always recommend using a paid solution to software wipe any hard drive as you will get the additional guarantee from the company however here is a list of Free & Paid Software.
Free
Mini Tool Partition Wizard
DBAN (Dariks Boot and Nuke)
PC Disk Eraser.
Some Manufacturers will also provide software free of charge especially with SSDs to wipe them correctly.
Paid
Blancco Drive Eraser
Active Killdisk – Provides Certificates for assets
Please be advised that erasing the hard drive will not only remove your data but also the operating system which will need to be re-installed in order for the device to function. We also are not affiliated with the above-listed software/tools these are however tools which have good customer reviews. We cannot provide support or any guarantees for the above software.
Some software will offer the functionality to in-place erase your data securely via a software wipe, however, this feature was removed from a lot of software once SSDs became mainstream due to the way in which an SSD will store data. The only true way in which to erase an SSD is to software wipe the full hard drive including the operating system.
Step 4 - Verify the Success of the Wiping Process
After completing the data wiping process, it’s important to verify that all data has been successfully erased. You can use data recovery software to scan the wiped hard drive and check if any recoverable data remains. If the scan comes up empty, it means your data has been successfully wiped. Double-checking ensures that no traces of personal information are left behind. Lots of free software or trial software can be found with a simple google search.
In some instances, if the hard drive wiping has not been successful or the data recovery software has recovered files from the software wiped hard drive the best method may be to physically destroy the data media. Which can be found in step 5.


Step 5 - Physically Destroy The Data Media(Only if step 4 was un-successful)
Sometimes the simplest and easiest method is to physically destroy the data media to ensure the data cannot be recovered.
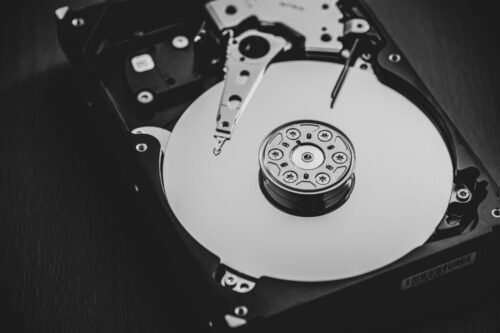
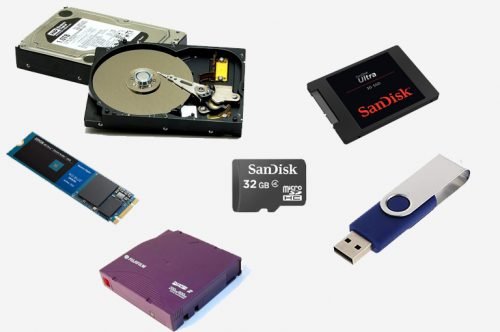
If your device is fully working this is sometimes not the best option, as depending on the way in which the data media is present in the device may make it in-operable after the data media is destroyed. Larger devices will usually have data media which is removable. For example, a desktop PC will usually have a removable NVME, M.2, SSD or Mechanical Hard drive.
Whereas most of the latest Mac computers have solid soldered-on storage meaning they cannot be removed without specialist tools or making the device inoperable.
This information can be found online or in software that will scan your computer to advise the data media type in your device.
You can find more information on the types of data media and how to destroy the data on a device which is not working from the following link :
How to Safely Get Rid of a Computer That No Longer Works While Protecting Data Privacy
Step 4 above will always be the preferred method of data destruction, ensuring complete data destruction whilst making sure your device is still operable.

